How do I set up scoring and outcomes?
Scoring controls how a user’s answers are calculated, and outcomes determine the message or category they see at the end of your quiz. Numio lets you fully customize both so you can deliver personalized results.
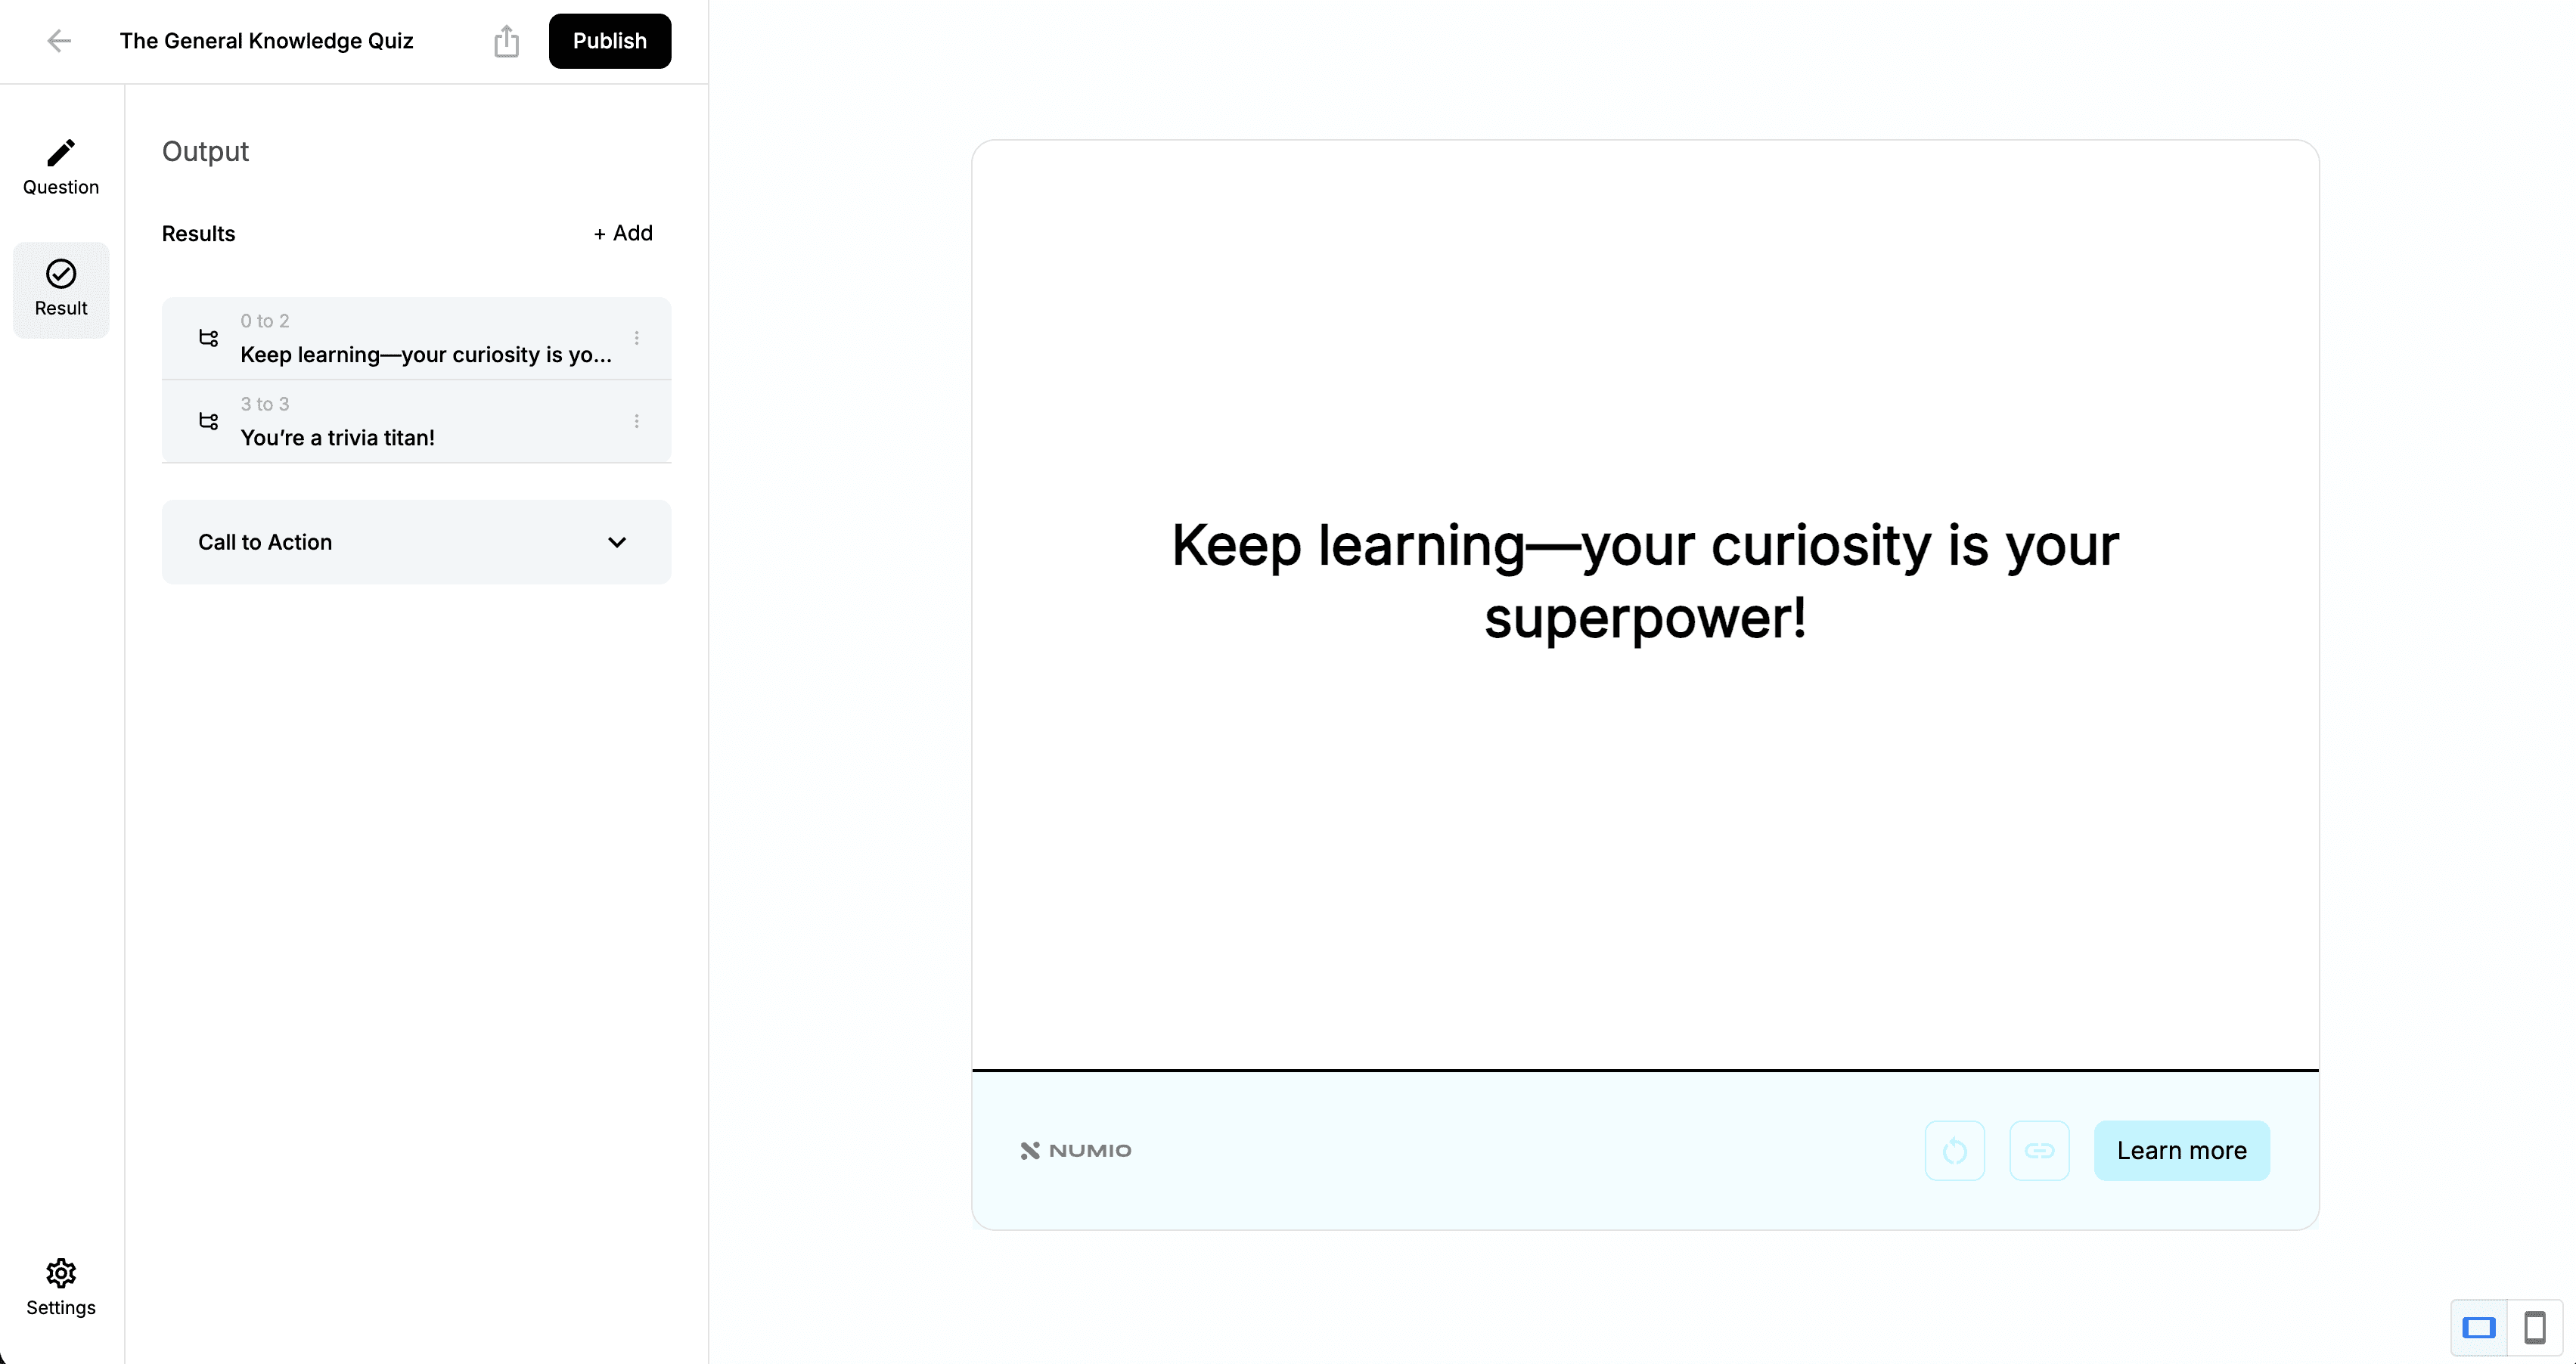
1. Open the Results Tab
Navigate to the Results tab in your quiz editor.
2. Choose Your Scoring Method
Numio supports two scoring formats:
Number Format — totals the user’s points
Percentage Format — calculates based on % correct
Choose the format that fits your quiz style.
3. Define Your Result Ranges
Create the score ranges that determine which outcome a user sees.
For example:
0–1 → Poor
2–3 → Needs Improvement
4–5 → Excellent

4. Create Your Outcome Messages
Each result range can display its own personalized content. You can customize:
Title
Image
Description
Example outcomes:
0–2 Correct:
“Keep learning — you’re just getting started.”
3–4 Correct:
“Great job — you know your stuff!”
5 Correct:
“You’re a certified expert!”
5. Test Your Quiz
Use the live Preview on the right side of the editor to simulate selections and verify that:
Scores calculate correctly
Outcome ranges trigger properly
Messages appear as expected
6. Save and Publish
When everything looks good, click Publish at the top.
To share your quiz:
Click the Share icon
Copy the direct link, or
Copy the embed code to place the quiz on your website
How do I set up scoring and outcomes?
Written By: Jeremiah Simpson
Last Updated on Nov 19, 2025
Scoring controls how a user’s answers are calculated, and outcomes determine the message or category they see at the end of your quiz. Numio lets you fully customize both so you can deliver personalized results.
1. Open the Results Tab
Navigate to the Results tab in your quiz editor.
2. Choose Your Scoring Method
Numio supports two scoring formats:
Number Format — totals the user’s points
Percentage Format — calculates based on % correct
Choose the format that fits your quiz style.
3. Define Your Result Ranges
Create the score ranges that determine which outcome a user sees.
For example:
0–1 → Poor
2–3 → Needs Improvement
4–5 → Excellent
4. Create Your Outcome Messages
Each result range can display its own personalized content. You can customize:
Title
Image
Description
Example outcomes:
0–2 Correct:
“Keep learning — you’re just getting started.”
3–4 Correct:
“Great job — you know your stuff!”
5 Correct:
“You’re a certified expert!”
5. Test Your Quiz
Use the live Preview on the right side of the editor to simulate selections and verify that:
Scores calculate correctly
Outcome ranges trigger properly
Messages appear as expected
6. Save and Publish
When everything looks good, click Publish at the top.
To share your quiz:
Click the Share icon
Copy the direct link, or
Copy the embed code to place the quiz on your website